
How to Winterize an Above Ground Pool: The #1 Ultimate Guide
Winterizing your above-ground pool is a crucial step in ensuring it survives the colder months and is ready for use when the weather warms up again. Proper winterization can extend the life of your pool, save you money on repairs, and make the reopening process smoother. In this guide, we’ll take you through the essential steps to winterize your above-ground pool effectively.
Gather Your Supplies
Before you begin, make sure you have all the necessary supplies on hand:
- Pool Cover: Choose a high-quality winter pool cover that fits your pool size snugly. This will prevent debris from getting into your pool during the off-season.
- Winterizing Chemicals: Purchase a winterizing kit that typically includes pool shock, algaecide, and stain preventer. These chemicals help maintain water quality during winter.
- Skimmer Plate or Gizzmo: These devices plug into your skimmer or return inlet to protect against freezing.
- Air Pillow: An air pillow placed in the center of the pool helps to support the cover and reduce stress on the pool walls.
- Pool Plug or Expansion Plug: Seal off the return jets and the skimmer using appropriate plugs.
- Garden Hose: You’ll need this to siphon water from the pool.
- Pool Vacuum: To ensure your pool is debris-free.
- Pool Test Kit: To test water chemistry.
Test and Balance Water Chemistry
The first step to winterize an above ground pool is to test and balance the water chemistry.
Properly balancing the water chemistry is the most crucial first step when winterizing an above ground pool. Failure to address water chemistry issues can lead to potentially catastrophic damage from corrosion, scaling, and stained surfaces over the cold winter months. It is advisable to enlist the services of a certified pool specialist to thoroughly test and amend all chemical parameters.
Begin by testing the pool’s pH, alkalinity, calcium hardness, and sanitizer levels. The pH indicates the acidity or basicity of the water and should measure between 7.4-7.6 on the scale. Alkalinity acts as a buffer to prevent rapid pH fluctuations, with ideal levels between 80-120 ppm. Calcium hardness dictates the water’s mineral content, which should register 200-400 ppm. And the sanitizer, either chlorine at 1-3 ppm or bromine at 2-4 ppm, prevents algae and bacterial growth.

After obtaining accurate readings with high quality test strips or a digital testing kit, add pH increaser or decreaser, alkalinity controller, calcium hardness increaser, and sanitizing chemicals as needed to achieve the recommended parameters. Thoroughly circulate the added chemicals for 24 hours by running the pool’s filtration system. Retest the levels after 24 hours to ensure they are properly amended before moving on with winterization steps.
For pools with high calcium content above 500 ppm, partial draining and dilution with fresh water is advised over attempting to chemically alter such extensively hardened water. Refilling the pool with fresh, balanced water in spring will prove far easier than trying to treat high calcium levels all winter long in a closed system.
Getting the water chemistry expertly balanced before winter is absolutely vital to avoid degraded conditions from corrosion, scaling, staining and contamination while the pool is dormant. Investing in a professional water analysis by a reputable pool company can provide peace of mind and prevent costly repair issues come spring. Take care of the water, and the water will take care of your pool.
Clean the Pool and Filters
Before winterizing, it is imperative that the pool is cleaned and filters are serviced meticulously from top to bottom, inside and out.
Vacuum by hand or use a reliable robotic pool cleaner to vacuum the entire floor, removing all debris and sediment. Then, using a pole-mounted brush attachment, scrub the pool walls, waterline, and tile surfaces to get rid of oils, scale, and accumulated dirt. Pay close attention to the skimmer and main drain areas which can collect grime.

The filters are the heart of your pool’s circulation system and require clinical inspection and cleaning. For sand filters, backwash and regenerate the media bed per manufacturer recommendations to remove built-up particulates trapped deep within the sand grains. Change out the media if it has become extremely channelized or pressure rise indicates insufficient filtration.
Thoroughly clean the inside filter tank, checking laterals and bleeder valves for proper operation. Change all O-rings at this time to prevent leaks. Finally, remove every drop of moisture by forcing compressed air through the entire filter system.
For D.E. filters, empty all spent diatomaceous earth powder and refill with fresh grade powder after meticulously rinsing the filter grids and housing. Soak the grids in solution to dissolve oils and organic matter. Change grids if broken or too calcified. Rinse cartridge filters with high pressure from a hose nozzle, replacing any torn cartridges.
Before reassembly, lubricate all seals, O-rings, and moving parts with manufacturer-recommended oils. Inspect every square inch for cracks or defects. Even small compromises to structural integrity can expand into major leaks or collapse when pressurized. Investing in new components now prevents headaches come spring opening.
With surfaces gleaming and filters functioning optimally, your pool will be in peak condition before suspended animation through a potentially harsh winter.
Winterize – Drain the Water and Disconnect Equipment
Draining and disconnecting all equipment is imperative to prevent catastrophic freeze damage over winter.
Lower the water level below the skimmer opening or pump hose ports, either by removing the drain plug or using a submersible sump pump. Reducing the water level in your pool helps prevent damage from freezing.
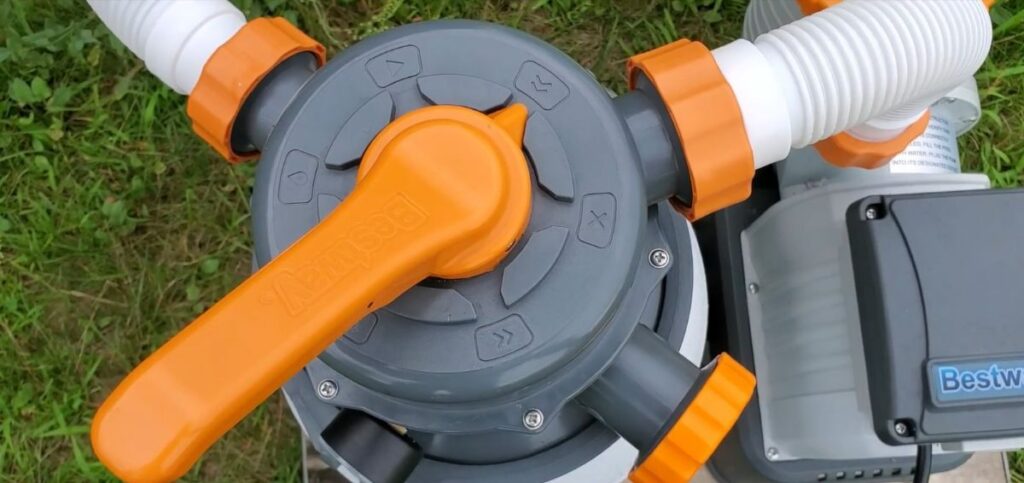
Follow this guide for using your pool pump to drain you pool.
Once the water level is lowered, insert plugs and detach all hoses, railings, ladders and return fittings. Use the appropriate tools to avoid stripping threads or damaging connections. Take pictures of each component before disconnecting to aid proper reassembly next season.
Thoroughly drain all water from the pumps, filters, valves and supply plumbing. Be meticulous in removing even small amounts of remaining water, which can expand as ice and rupture components.
Carefully coil hoses and organize fittings to prevent kinking or bending. Label components clearly for easy identification when reattaching. Store all equipment indoors in a dry, temperature-controlled location to prevent deterioration from moisture, temperature swings and UV damage.
Proper draining and disconnection safeguards your investment against broken valves, cracked hoses and housings, seized impellers and other issues that could otherwise lead to unnecessary replacement costs.
By diligently removing all water and storing equipment indoors, your system will be ready for rapid spring restart.
Extra Tip
Label which hoses and fittings go to which port on the pump. This makes reassembly in spring faster and prevents costly mistakes cross-threading components.
Securing the Structure – Critical for Winter Integrity
Properly securing the actual pool structure is paramount for getting through winter without damage from shifting, leaks or collapse.
Thoroughly inspect the entire above-ground pool frame for even hairline cracks or signs of distortion. Pay particular attention to junctions between straight and curved sections. Use an underwater epoxy compound designed for pool repair to seal any cracks. Hand-tighten any loose bolts and replace compromised bolts with marine-grade stainless steel.
Remove and clean the pool ladder of any dirt or corrosion. Lubricate all pivot points and hardware with silicone spray to prevent binding or rusting. Safely store the ladder away from the pool to prevent unauthorized access while winterized.
Install a fitted winter cover without wrinkles or billowing sections, and tightly secure using the attachment grommets and cable system specifically designed for your pool model. This ensures the cover stays snugly in place and withstands the weight of rainwater and snow accumulation. Weigh down the cover perimeter with filled tubes to keep it centered and prevent wind uplift or sideways shifting. Funnel any rainfall away from the cover with a sump pump system.

For extra insurance on larger above-ground pools, consider draping a reinforced tarp or second cover over the top rail to better distribute heavy snow loads. Try to minimize standing snow on the cover if possible.
With the frame robustly inspected and reinforced, the ladder stowed, and the cover drum-tight, the pool structure has its best chance of coming through months of harsh winter weather unscathed.
Ongoing Winter Monitoring and Maintenance
While the pool may be closed for the season, winter maintenance is still required to ensure no issues arise. Schedule regular inspections after major storms, extreme cold, rapid thaws or heavy snow.
Visually check the cover for signs of shifting, tearing or collapsing edges. Re-tighten any cover straps that may have loosened from wind gusts. Clear snow buildup gently using a soft bristle broom to reduce weight loads.
Inspect places where the cover edge meets the rim for gaps where melting snow could infiltrate. Re-position the cover perimeter to eliminate potential breaches.
Use a submersible sump pump to remove any water accumulation on top of the cover from rain, snow melt or excessive condensation. Prolonged standing water adds strain and can collapse a cover. Ensure automatic drainage pumps remain powered and functioning through winter power outages.
For areas prone to frequent heavy snow, consider installing temporary aluminum or fiberglass support ribs underneath the cover to prevent sagging under extreme loads. Shoveling snow off the cover helps minimize load but increases the risk of puncturing the cover fabric.
Set calendar reminders on your phone to check the pool after forecasted storms or rapid temperature shifts. Ongoing diligence provides peace of mind that problems are not brewing out of sight. Record all inspection dates and notes should an issue arise requiring insurance claim evidence.
With periodic maintenance and vigilance through the dormant season, your pool has the best opportunity to survive winter’s wrath intact and ready for next season. An ounce of prevention goes a long way.
Spring Opening – Bringing Your Pool Back to Life
After the long winter, opening your pool correctly ensures a smooth transition back to summer fun. Have patience and don’t rush the process.
First, balance and sanitize the water per recommended levels. Remove the pool cover and clean it thoroughly before re-folding and storing.
Re-install ladders, rails and any other accessories previously removed. Inspect each component closely for damage before re-attaching. Replace any degraded gaskets, bolts or connections. Confirm all accessories are securely mounted.
Re-connect supply lines, hoses and filter equipment in the proper configuration as labeled before winter storage. Double check that all plumbing unions are tight, and gaskets properly seated before pressurizing the system. Don’t forget to remove any plugs that you have put into the suction or jet ports.
Prime and start up the pump per manufacturer instructions. Open valves slowly to avoid water hammer and shock. Add water until the ports are covered.
Now your pool system can complete a full circulation cycle to blend and balance the existing water with fresh make-up water. Test chemical levels frequently and make adjustments as needed over the first few days.
Once the water is properly balanced and circulating freely, do a final cleaning of surfaces to remove any remaining debris from winter. Your pool is now ready for swimming (once the water reaches comfortable temperatures!).
Conclusion
With proper winterization and a careful spring restart, your above ground pool will be crystal clear and ready for another season of good times. Take it slow and be diligent when opening your pool after winter.
Following this comprehensive winterization guide will keep your above ground pool in great shape throughout the winter. Let us know if you have any other tips or questions in the comments. Happy winterizing!


